If you own a website, you need an SSL certificate. Fortunately, you can get one for free. Here, we will uncover how to install Let’s Encrypt on shared hosting to improve your site’s security and credibility.
As soon as you create an account or add a domain to your hosting account with us and the domain points to your service with us either using our nameservers or your private nameservers, a Let’s Encrypt SSL certificate will be installed within 10-15 minutes, automatically.
If you would like to install Let’s Encrypt SSL on a domain name manually, please follow the steps outlined below:
- Login to your cPanel account and search for the SSL/TLS Staus under the Security section.
- Tick the check boxes in front of the domain name on which you want to install Let’s Encrypt SSL.
- Now click on Run AutoSSL.
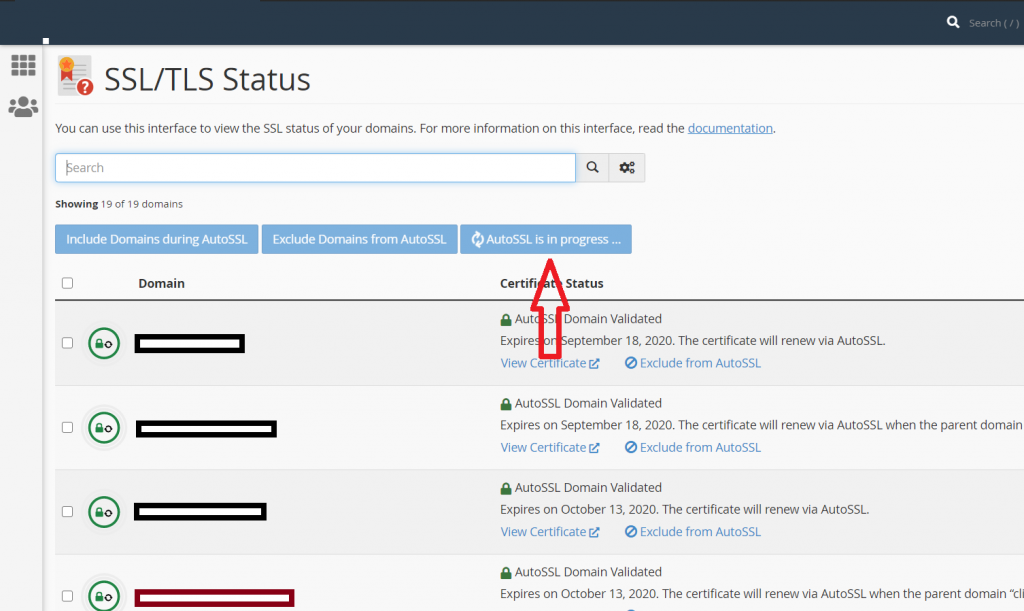
This will install the SSL on your domain and the green padlock icon will confirm the SSL is installed. Check the screenshot for more details.